How to use a fountain pen: a complete beginner walkthrough
Using a fountain pen is straightforward once you understand three things: ink flows by capillary action so you barely need to press, a brand-new pen needs a quick rinse before it sees ink, and the nib must face up while you write. Get those right and the rest falls into place. This walkthrough goes from opening the box to the first page of real writing, in the order you will actually do it.
Why flush a brand-new pen before filling it
Factory production leaves traces inside every pen. Cutting oils, fine plastic dust, and mold-release residue settle in the feed channels during manufacturing. If you fill the pen and write immediately, that residue mixes with your ink, clogs the narrow grooves in the feed, and causes hard starts, skipping, or a dry, scratchy line from the very first word.
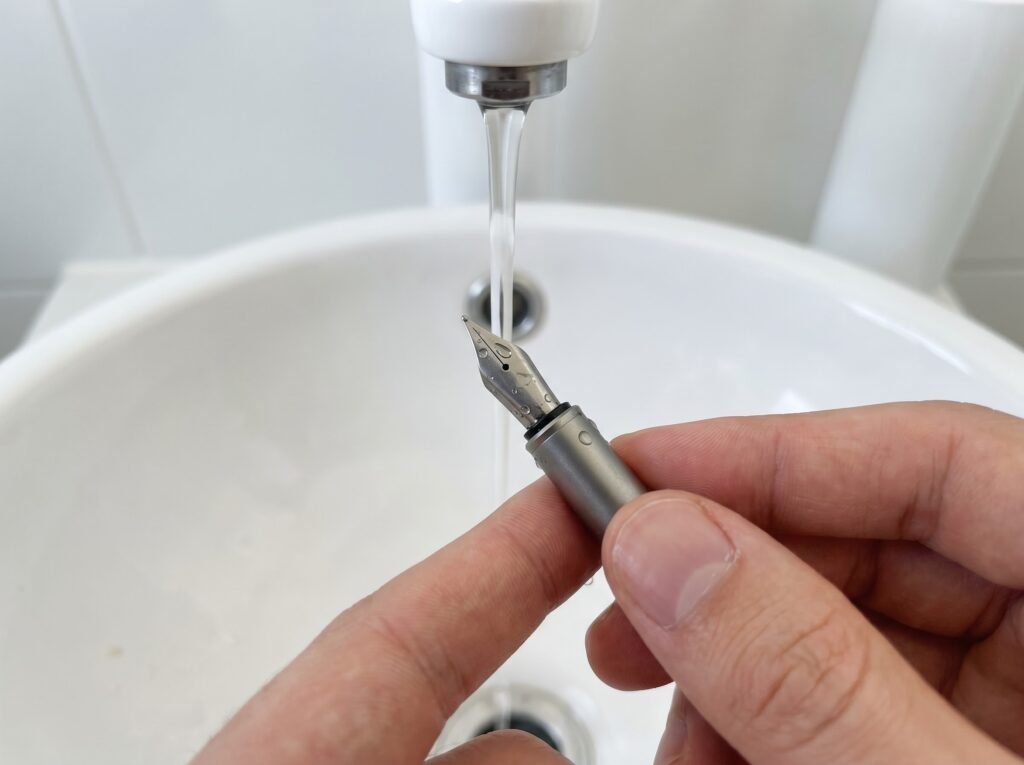
The fix takes two minutes. Unscrew the barrel from the grip section, hold the nib unit under a slow stream of cool tap water, and let the water run through the feed for about 30 seconds. Then draw clean water into the converter a few times (or fill and empty a cartridge body if you have a spare), and repeat until the rinse water runs clear. Shake out the remaining droplets, leave the nib unit facing down on a folded paper towel for a few minutes, and the pen is ready to fill. Enthusiasts who restore vintage pens and manufacturers’ care guides both recommend this step for every new pen, including an affordable starter model straight from the packet.
One important note: cool water is the right choice. Hot water can affect some plastics and finishes. And skip soap unless you know the pen barrel material is compatible with mild detergent.
How to install a cartridge
Most beginner pens come with one ink cartridge already in the box. Proprietary sizes vary by brand: Pilot, Platinum, and Lamy each use their own standard, so always check compatibility before buying refills. The installation itself is the same across brands.
- Unscrew the barrel counter-clockwise to expose the back of the grip section, where the cartridge seats.
- Orient the cartridge with the sealed narrow end pointing toward the nib.
- Push firmly straight in until you feel (and sometimes hear) a clear click. That click means the cartridge seal has been pierced and ink can flow.
- Screw the barrel back on until snug. Do not over-tighten.
- Cap the pen nib-down for two to three minutes while ink moves through the feed channels by capillary action. Or hold the pen nib-down and give it one or two very gentle downward flicks (not hard shakes) to pull ink toward the tip faster.
If ink does not appear after a few minutes, try the priming method described in detail in our new-pen setup guide. A cartridge that was not pushed in all the way is the most common culprit.
How to fill with a converter
A converter is a reusable ink reservoir that sits where the cartridge would normally go. Instead of a sealed pod of ink, it has a small piston mechanism you turn to draw bottled ink directly into the pen. Most twist-piston converters work the same way regardless of brand.
For a full walkthrough of every filling method, see our dedicated fountain pen filling guide. Here is the core converter sequence:
- With the converter installed, twist the piston knob forward (toward the nib) until it stops. This pushes air out of the reservoir.
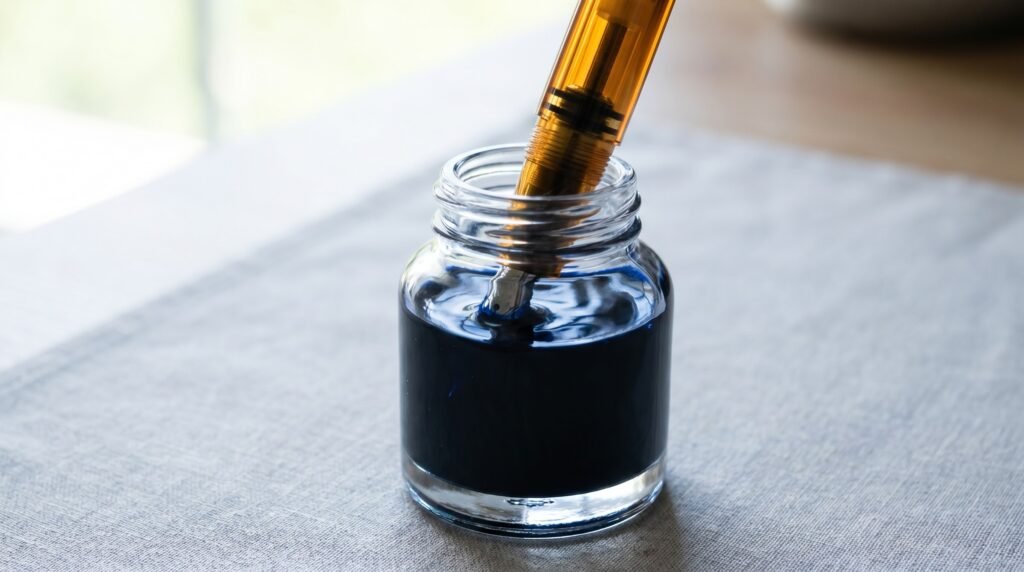
- Open the ink bottle and submerge the nib fully. The entire metal nib plus the start of the section should be under the surface so no air is drawn in with the ink.
- Slowly twist the piston knob back (away from the nib) until it stops. Ink rises into the converter.
- Lift the pen from the bottle and turn the piston forward just slightly to push two or three drops of ink back. This removes the air bubble that usually forms at the top of the fill. Draw ink once more to top up.
- Wipe the nib and section with a lint-free cloth. Screw the barrel back on.
Pelikan’s official guidance specifically recommends releasing a few drops back into the bottle after a full piston fill, because a completely full reservoir can push ink out at the nib when the barrel warms from your hand. The same principle applies to piston-filler pens like the TWSBI Eco.
Priming the feed
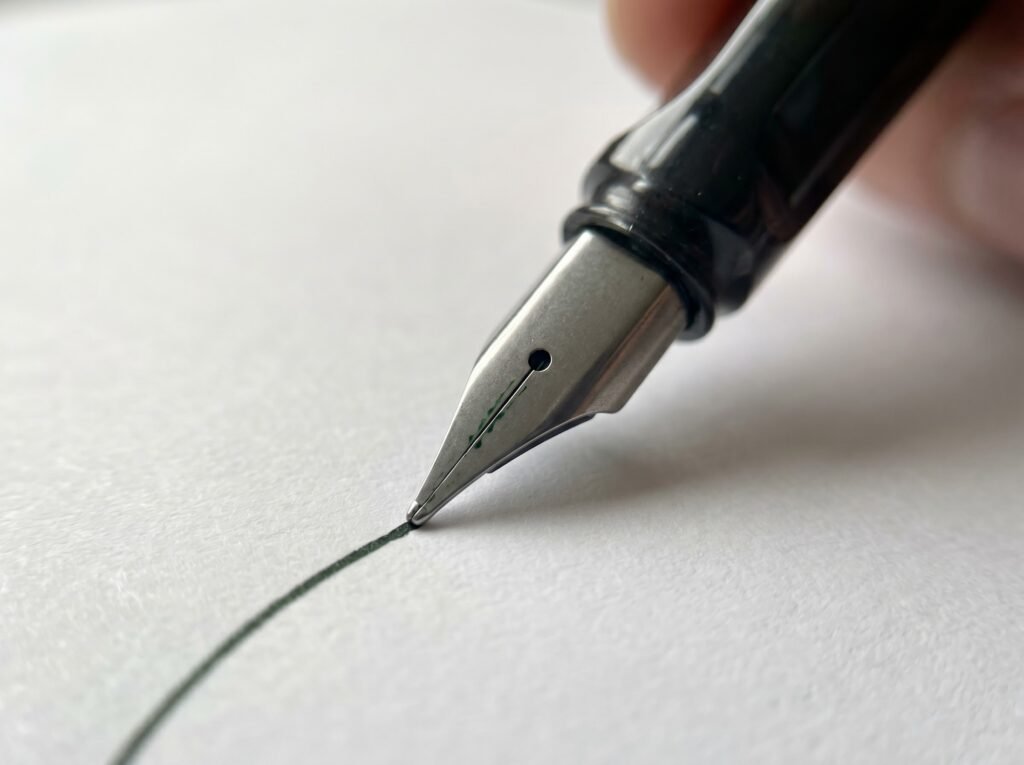
Priming means making sure ink is present in every part of the delivery path before you write: the grooves of the feed, the fins, the slit in the nib, and the underside of the tine tips. Without it, your first stroke produces a dry scratch instead of a line.
After filling, touch the tip of the nib very lightly to a scrap of paper and draw a slow loop. Ink should appear within two or three strokes. If nothing happens, try a gentle downward flick of the wrist (nib pointing down), then try the scrap paper again. Still dry? The converter may not be fully seated. Unscrew the barrel, press the converter firmly in, and repeat.
Once a thin ink trail appears on the scrap paper, the feed is primed. You do not need to keep coaxing it. The capillary system will sustain flow as long as ink is in the reservoir and air can enter through the breather hole and feed fins to replace it.
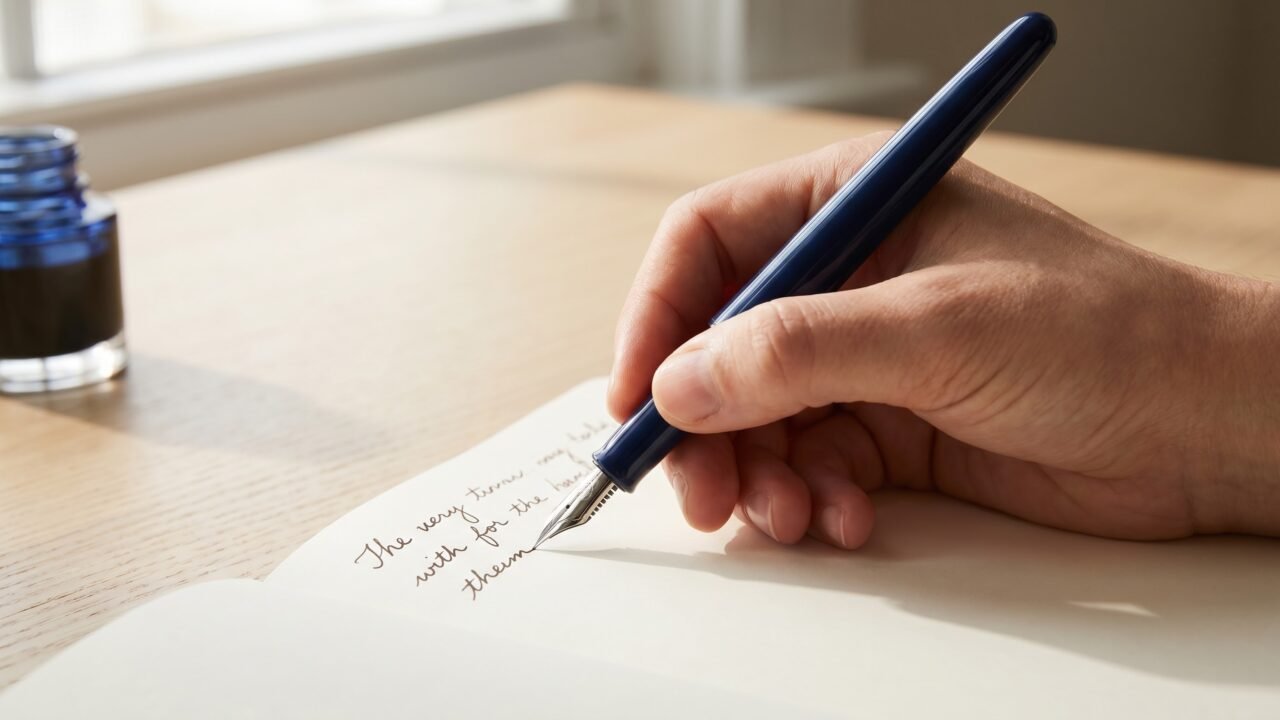
Grip, angle, and first strokes
Fountain pens deliver ink by capillary action and the pen’s own weight. That means pressure is unnecessary, and applying heavy pressure actively damages the nib over time by splaying the tines apart. This is called “springing” a nib, and it is often irreparable. Write lighter than you think you need to.
How to hold the pen
Use a relaxed tripod grip: thumb and index finger pinch the barrel lightly, middle finger rests underneath for support, and the remaining fingers curl naturally under your hand. Position your grip roughly 2.5 cm (1 inch) from the nib. Gripping too close chokes the ink channel and distorts the writing angle.
The nib’s flat face, where the brand name or nib size is stamped, must point directly upward. Both tines need to rest evenly on the paper. Rotate the pen even slightly and one tine digs in, producing a scratchy feel and an uneven line.
The right angle to the paper
Hold the pen at roughly 40 to 55 degrees from the writing surface. Lower than 40 degrees and the nib skims the paper without reliable contact. Higher than 60 and you are pressing the tip rather than gliding it, which increases the chance of hard starts. Montegrappa, Scriveiner, and Truphae all give this same 40-55 degree range as the standard starting point. Your personal comfort within that range matters more than hitting an exact number.
Move the pen using your forearm, not just your fingers. Finger-driven writing quickly torques the nib angle as your hand shifts across the page. Forearm movement keeps the angle and nib orientation stable from the first letter to the last.
First strokes on paper
Start with slow, deliberate lines: circles, gentle loops, simple lowercase letters. You are not testing for speed. You are letting the capillary system settle into a rhythm and confirming the nib is writing evenly. If the line is dry or skipping, gently increase the angle a few degrees. If ink is flooding, reduce it slightly and lighten your grip.
Most beginners coming from ballpoint pens are surprised by how little effort is involved. The pen does the work. Your job is to guide it.
Nib size note for new buyers
If you chose a Japanese pen (Pilot, Sailor, Platinum), the nib sizes run approximately one step finer than equivalent Western sizes. A Japanese Medium writes a line close to what a European or German Fine produces. Keep this in mind when choosing your first nib: a Japanese Fine or Extra Fine can feel very fine indeed on smooth paper.
Posting the cap
Posting means pressing the cap onto the back of the barrel while you write. It adds length, shifts the balance point back, and makes a short pen easier to hold. The Kaweco Sport is a classic example: at 10.0 cm uncapped it is too short for comfortable extended writing, but posted at about 13.2 cm it sits naturally in the hand.
Whether to post is personal. Heavier caps (thick metal or acrylic) make the pen back-heavy, which some writers find tiring over long sessions. Lightweight caps on lightweight pens post without noticeable change to balance. Try both ways on the first page of writing and your hand will tell you which it prefers.
One firm rule: never force the cap. If it does not seat easily, it is the wrong pen or the cap is misaligned. Forcing can chip a lacquered cap ring, crack a friction-fit cap, or scratch the finish on the barrel.
Capping between uses and longer storage
Cap the pen every time you put it down, even for a minute. The nib is narrow and exposed; air dries the thin film of ink on the tines quickly, especially in warm or low-humidity environments. A dried nib means a scratchy restart and sometimes a cleaning session before the pen writes smoothly again.
For storage beyond a few days, pen orientation matters. Most pens can be stored horizontally or nib-up. Nib-down for more than a day or two risks a flooded nib when you uncap. If you plan to leave a pen unused for several weeks, the standard advice among experienced enthusiasts is to empty and rinse it first. Dried ink in the feed is harder to clear than fresh ink, and some inks, particularly iron-gall formulations, can etch metal components if left sitting in a pen for months.
Ink types that will damage your pen
Standard fountain pen inks are water-based dye solutions or, in the case of pigment inks marketed for fountain pens, formulated with dispersants designed to stay in suspension and clean out easily. Use only those.
Avoid these categories entirely with a standard fountain pen:
- India ink and drawing ink: contains shellac or acrylic binders that harden inside the feed channels. The clog is often permanent.
- Calligraphy or dip-pen ink: thicker than fountain pen ink and frequently shellac-based. Same permanent-clog risk.
- Acrylic ink: designed for brush or airbrush; dries hard inside a pen within hours.
- Printer or ink-jet ink: incompatible chemistry; Pelikan’s FAQ explicitly notes that fountain pen ink and printer ink are not interchangeable.
Two additional specific warnings for enthusiasts exploring specialty inks:
- Shimmer inks (inks with metallic particle suspension) can settle and clog feeds in Fine and Extra Fine nibs. Use them in a Medium nib at minimum, and gently agitate the bottle before filling.
- Noodler’s Baystate line (including Baystate Blue) must not be mixed with non-Baystate inks; the chemical incompatibility can produce a thick, hard-to-remove residue. Keep a dedicated pen for any Baystate ink and never mix it in a shared bottle or converter.
If you own a vintage pen with a latex rubber sac, add iron-gall inks and high-pH Japanese inks to your caution list. Alkaline inks above pH 8 can soften and degrade latex over time. Modern dye-based inks from Waterman, Pelikan 4001, Diamine, and J. Herbin sit comfortably in the safe pH range for rubber-sac pens.
Quick-reference: what to do at each step
| Step | What to do | Common mistake |
|---|---|---|
| New pen, pre-fill | Rinse with cool tap water until clear | Skipping the flush; factory residue causes hard starts |
| Cartridge install | Push until you feel a click; seat fully | Stopping at first resistance; cartridge not pierced |
| Converter fill | Submerge full nib; twist piston up slowly; release 2-3 drops back | Partial nib submersion draws air bubbles |
| Priming | Light slow loop on scrap paper; 2-3 strokes maximum | Writing too hard to “force” ink; can spring tines |
| Grip and angle | Nib face up; 40-55 degrees; relaxed tripod grip | Rotating pen; nib digs in on one side |
| Pressure | Almost none; let pen weight do the work | Ballpoint habit; excess pressure springs the nib |
| Posting the cap | Optional; try both ways; never force | Forcing a stiff cap; chipping finish or cracking barrel |
| Between uses | Cap every time; store horizontal or nib-up | Leaving uncapped; dried ink on tines |
That table covers the complete first-use sequence in one place. Bookmark it for the first few sessions until the steps feel natural.
Fountain pen writing does slow you down slightly, and that turns out to be most of the appeal. Lighter pressure, steadier movement, and a nib that rewards patience over force. Give yourself a short practice page, pay attention to what the ink trail is telling you about angle and pressure, and the technique becomes automatic faster than you expect.
Frequently asked questions
Why does my fountain pen skip or write dry?
The most common causes are a nib angle below 40 degrees, an air bubble in the converter after filling, or a feed that was not fully primed. Try adjusting your angle first. If skipping persists, unscrew the barrel, press the converter firmly home to remove any air gap, and do a few slow strokes on scrap paper. If the pen is still dry, empty the converter, rinse briefly with cool water, and refill with fresh ink.
Can I use any fountain pen ink in any pen?
Most standard water-based fountain pen inks are broadly compatible across brands and pen types. The exceptions are inks with special chemistry: Noodler’s Baystate line must not be mixed with non-Baystate inks, shimmer inks need a medium or wider nib, and iron-gall inks require extra care in vintage pens with latex sacs.
How often should I clean my fountain pen?
Flush with clean water whenever you change ink colors, and at minimum every four to six weeks if you use the pen regularly. If a pen has been sitting capped and unused for more than a month, rinse it before refilling. A simple cool-water flush is enough for routine maintenance; a longer soak handles stubborn dried ink.
Is it safe to post the cap on every pen?
Most fountain pens are designed to accept a posted cap, but not all. Check the pen’s product page or included manual. Very long or heavy pens often become uncomfortably back-heavy when posted. Pens with soft lacquer or delicate plating on the barrel can scratch when a cap is repeatedly posted; use light pressure and verify the cap seats without contact with the finish.
My nib writes but the line is uneven. What is wrong?
An uneven line usually means one tine is lower than the other, caused by pen rotation. Confirm the flat face of the nib points straight up. If the tines are visibly misaligned (one higher than the other when you look head-on), that is a nib alignment issue. Light micromesh smoothing is a DIY option for minor burrs; any structural tine adjustment belongs with a nibmeister.
The Nibhaven team
We write plain-English fountain pen guides. Every claim is checked against the manufacturer documentation and primary sources listed above before publishing.